

The Short Answer
Your Palm Springs EV Charger Guide: Speed, Setup, and More
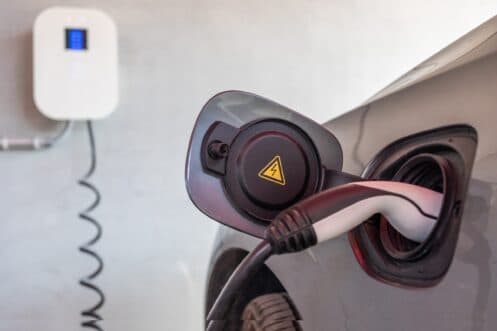
Installing a home EV charger doesn’t need to feel complicated. The right setup charges your vehicle efficiently while fitting your daily routine, parking habits, and electrical system. Know Your Car Before You Buy the Charger Before you even look at different models for your EV charger installation, you need to know what your vehicle requires. […]
What this guide covers
- Know Your Car Before You Buy the Charger
- Think About Where You’ll Park Most Often
- Pick the Charging Speed That Matches Your Routine
- Look Closely at the Electrical Panel
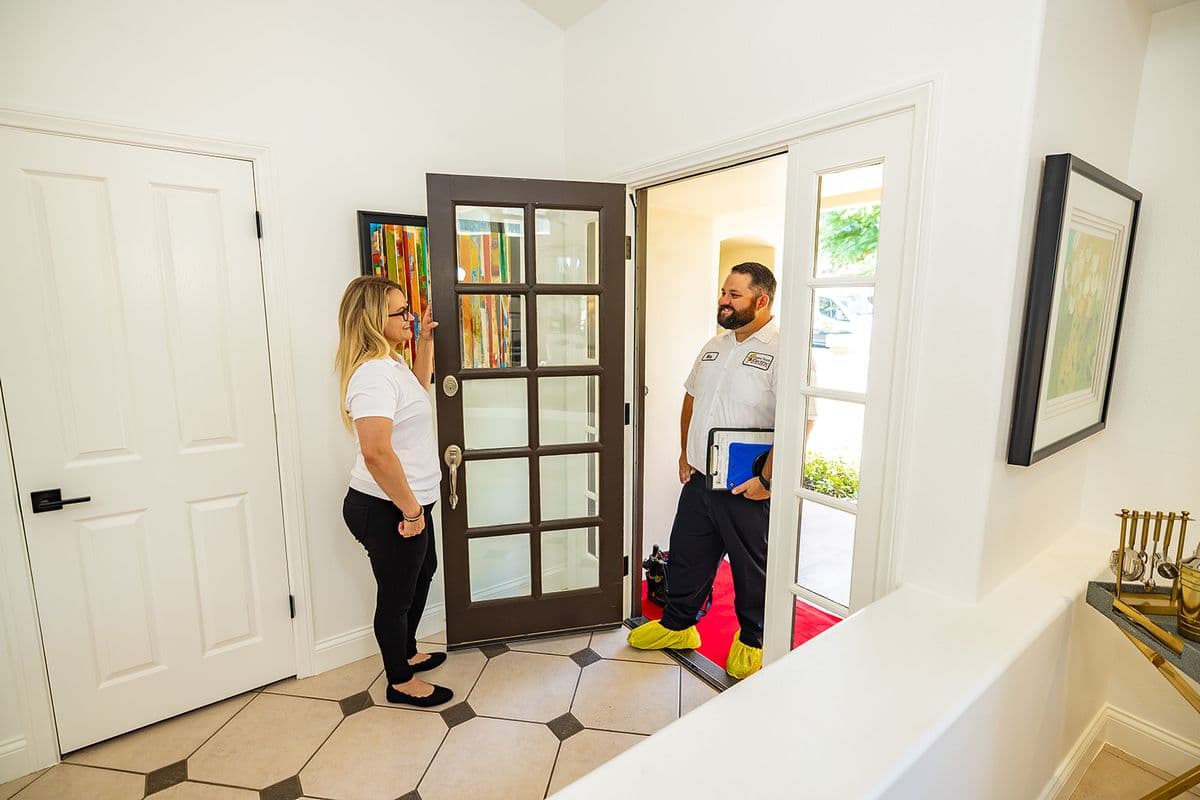
Talk to a Specialist
Not sure what your panel needs?
A certified electrician can evaluate it and tell you straight, with pricing approved before any work begins.
Installing a home EV charger doesn’t need to feel complicated. The right setup charges your vehicle efficiently while fitting your daily routine, parking habits, and electrical system.
Know Your Car Before You Buy the Charger
Before you even look at different models for your EV charger installation, you need to know what your vehicle requires. EVs don’t all use the same charging speeds or connectors. Some can handle higher amperage levels, while others max out at a lower rate. You’ll want to check the specs for the onboard charger for your car. That tells you how fast the car can accept power, which matters more than what the charger says it can deliver.
For example, a charger that delivers 11 kilowatts won’t be fully used if your car only takes 7.2. The connector type also matters. Most home chargers use the J1772 plug, which works for almost every EV except Tesla, though adapters make that difference easy to work around.
Think About Where You’ll Park Most Often
If you always back into the garage, a wall-mounted unit near the back corner might be fine. If you park head-in or outside, the cable needs to reach without creating a tripping hazard. You’ll also need to consider the proximity of your charger to your electrical panel. The farther the run, the more materials and labor are required for the installation. That cable run might even trigger the need for a subpanel or trenching work if the panel is on the other side of the house.
Weather exposure counts too. Chargers designed for indoor use can struggle in outdoor conditions unless they’re sealed and rated to handle sun, rain, and heat. If you ever switch to a second EV or plug-in hybrid, the location should let you expand without moving everything.
Pick the Charging Speed That Matches Your Routine
Most home EV owners pick between Level 1 and Level 2 charging. Level 1 chargers plug into a regular wall outlet, but they work very slowly, only about four miles of range per hour. That might work if you don’t drive much. If you drive daily or take longer trips, a Level 2 charger is better. It uses a 240-volt outlet and charges much faster.
Depending on the amperage, you can expect a range of 20-40 miles per hour of charging. Your car battery size and your average daily mileage both affect the speed you need. Choosing a charger that matches your real driving patterns helps you avoid frustration and keeps the vehicle ready without delay.
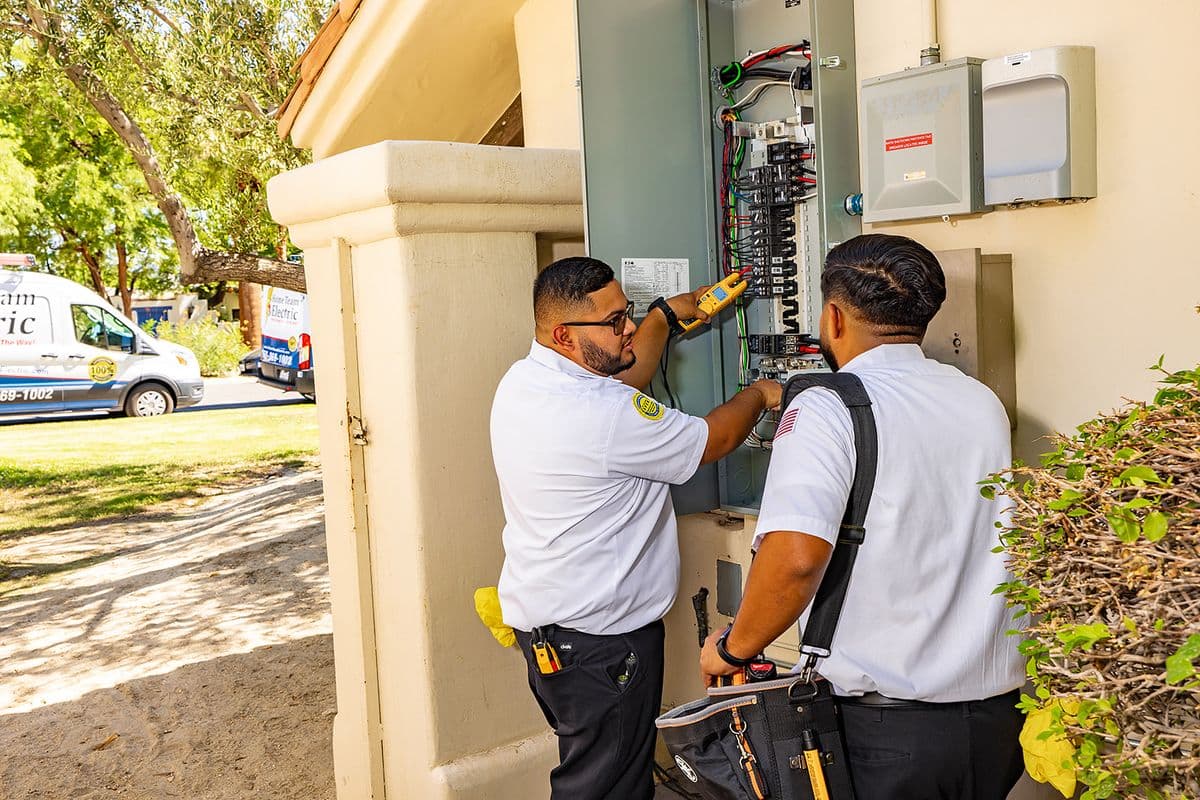
Look Closely at the Electrical Panel
Your charger needs a power source that can handle the added load. That means your home electrical panel has to be up to the task. If your panel is full or near capacity, you may need to upgrade it or install a subpanel to avoid constant tripping. A licensed electrician can check the amperage rating and determine how many slots are still available. You’ll also want to know whether the panel supports a 240-volt circuit, since that’s required for Level 2 chargers.
Homes built decades ago may not have panels sized for today’s demands, especially if you’ve added appliances or extra outlets. Checking the panel early helps you understand what kind of installation will work and whether you’re looking at a simple hookup or a larger project.
Hardwired vs. Plug-In: What’s Better for You?
Some EV chargers plug into a 240-volt outlet, while others are hardwired directly into your electrical system. The choice depends on how permanent you want the setup to be and what your local codes allow. Plug-in units are easy to replace or move if you change chargers or relocate. They also make it easier to take the charger with you if you move to a new home. Hardwired models are more common when the outlet isn’t already installed or when you want a cleaner look without a visible cord or outlet box.
Smart Features or Simple Setup?
Some chargers are barebones. They plug in, charge the car, and that’s it. Others connect to your phone through Wi-Fi or Bluetooth and offer data tracking, scheduled charging, and energy use monitoring. Smart chargers let you delay charging until power rates are lower, track how much energy each session uses, or adjust amperage through an app.
If your utility company has time-of-use billing, a smart charger can help you avoid higher rates during peak hours. You’ll want to make sure your home Wi-Fi signal reaches the garage or wherever the charger will live. If it doesn’t, some chargers let you connect through cellular networks or local Bluetooth, though those come with limits. If you prefer simplicity, a basic model will still do the job without the bells and whistles.
Plan for the Future, Not Just the First Year
It’s easy to focus only on your current car, but EV habits tend to change. You might add a second EV down the road, or your driving range might increase. Think about whether the charger you’re installing can scale with your needs. Some systems support dual charging ports or daisy-chaining additional chargers. Others might offer upgrades in software that allow for faster speeds later, depending on your wiring. Your electrical panel may also need room to support a second 240-volt circuit if another vehicle joins the driveway. These details matter if you’re building a longer-term charging plan.
Permits, Rules, and Local Requirements
Many areas require a permit for electrical work tied to an EV charger. That includes anything involving the panel, circuit additions, or trenching for outdoor installations. Inspections are often part of the process to verify that the work meets local codes.
Skipping permits can create problems later, especially if you plan to sell the house or need to file an insurance claim. Some homeowner associations also have rules about visible wiring or outdoor unit placement. Those extra layers don’t stop you from installing a charger, but they do shape how the work gets done. It helps to know about those requirements upfront so that you’re not surprised by delays or added costs. A licensed installer will usually walk you through the permitting process, but it helps to ask questions and get clear on what to expect before work starts.
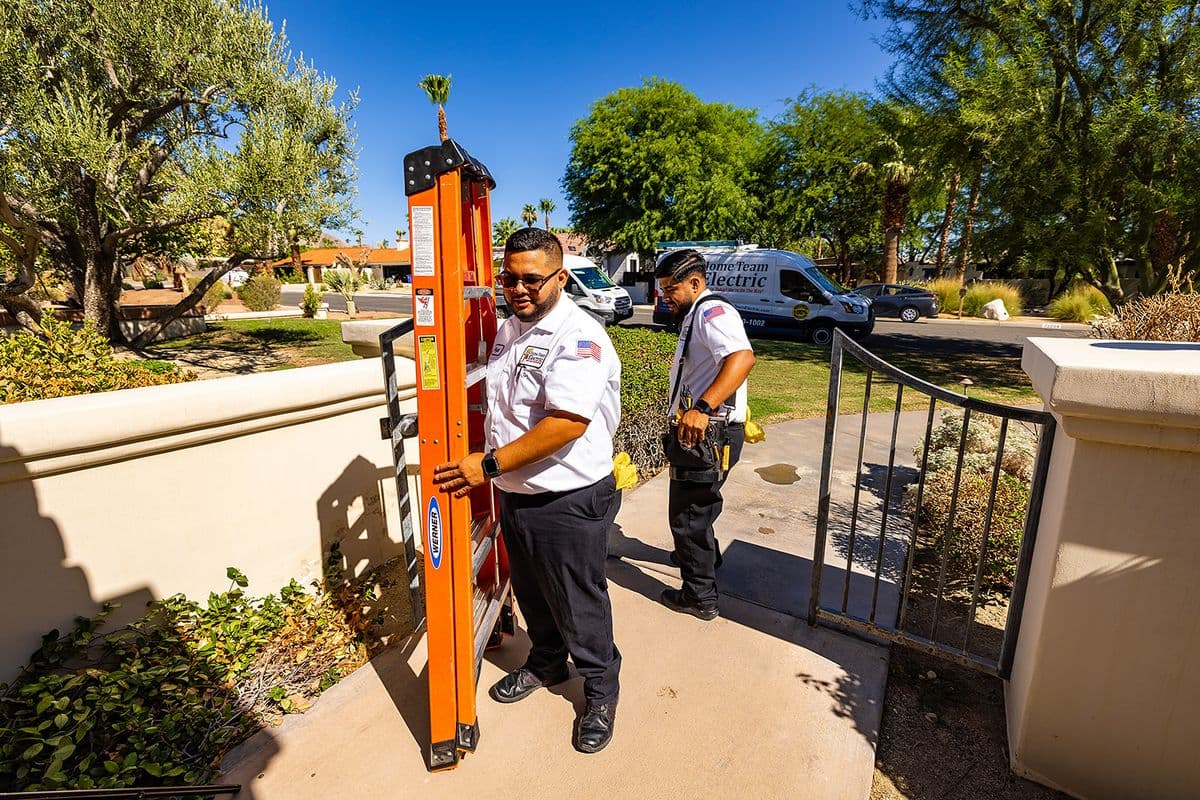
What Installation Day Looks Like
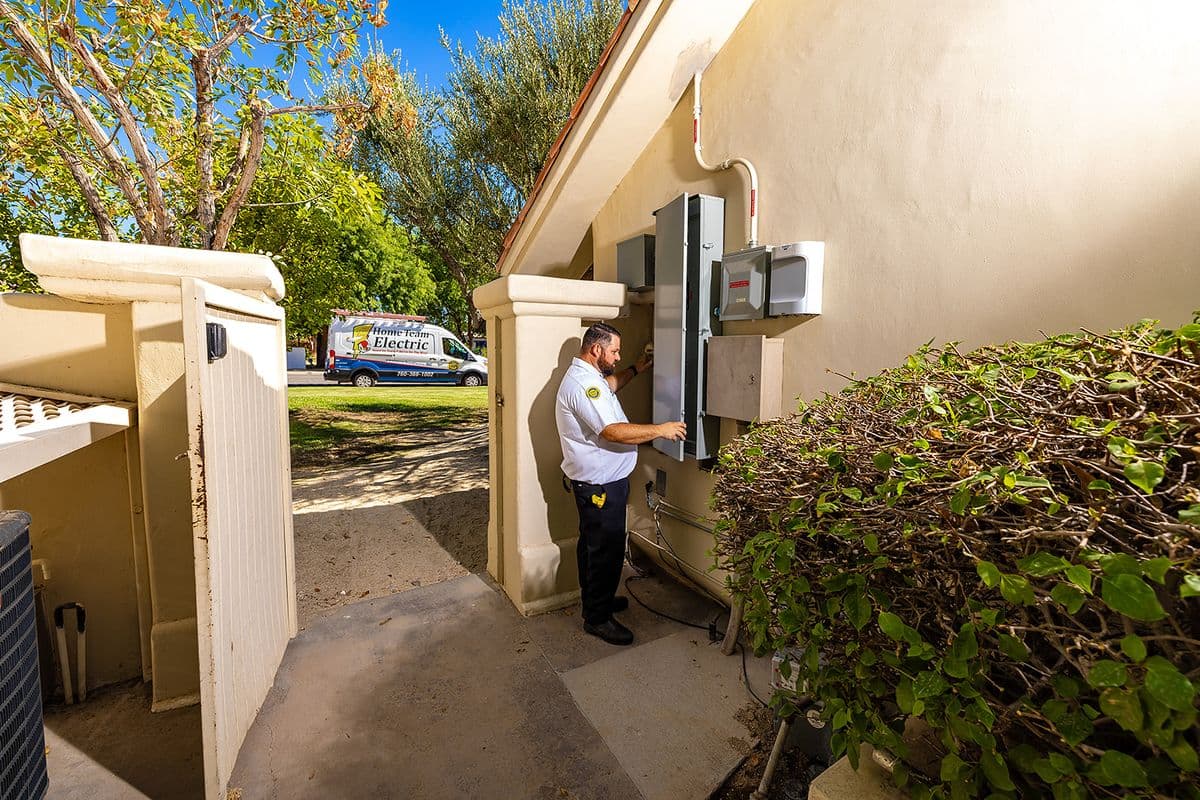
When installation day arrives, most of the work happens in a few key steps. The installer confirms the mounting location and checks that nothing has changed since the walk-through. They’ll shut off power at the panel, run the dedicated circuit, mount the charger, and test the wiring before flipping the power back on.
If the charger is being hardwired, expect a bit more prep time. That could include pulling wires through conduit or routing cable along a finished wall. If you’re using an outdoor unit, the installer might pour a small concrete pad or mount the unit to a post.
After everything connects, the system runs through a final check, including voltage tests and a brief charging session to confirm the setup works. You should also get a quick walkthrough of the features, any safety instructions, and a copy of the installation report. If anything seems off during that first session, it’s better to ask right away while the installer is still onsite.
Book Your Home EV Charger Installation Today
The EV charger you pick should match your lifestyle, not just your vehicle. A little planning now saves a lot of time later. In addition to charger installations, Home Team Electric also handles electrical upgrades and service panel checks for EV-ready homes.
Schedule your home charger installation with Home Team Electric in Palm Springs today and get plugged in the right way.
Written By
Unknown
Home Team Electric Field Team
Unknown is part of the Home Team Electric field team, serving homes across the Coachella Valley and Morongo Basin.
Published August 26, 2025Updated July 23, 2026